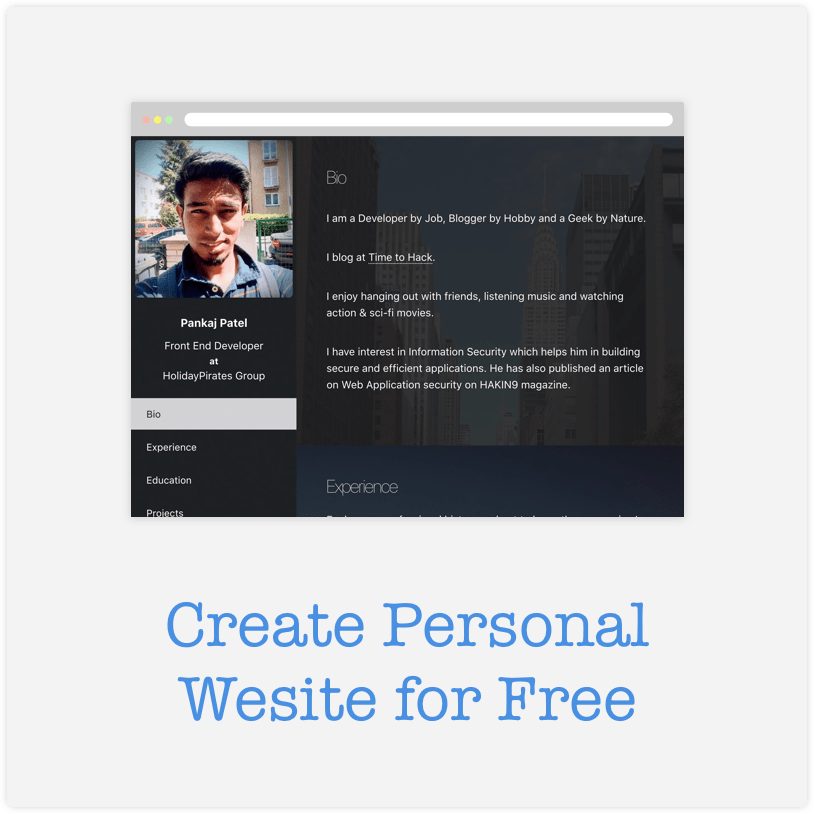
In today’s world, having a personal website is very helpful. It shows who you are. It helps you share your work. It can also help you connect with others. Luckily, you can make a website for free. This guide will help you create your own website.

Credit: www.youtube.com
Why Do You Need a Personal Website?
A personal website has many benefits. Here are some reasons why you should have one:
- Show Your Work: You can display your projects.
- Share Your Ideas: It’s a place to write about your thoughts.
- Connect with Others: People can find you easily.
- Build Your Brand: It helps you stand out.
- Learn New Skills: You can learn about web design.
Steps to Create a Personal Website for Free
Creating a website may seem hard. But it is easy if you follow these steps:
Step 1: Choose A Website Builder
A website builder helps you create a site. There are many free options. Here are a few popular ones:
- Wix: It is user-friendly and has many templates.
- WordPress: It is very flexible and great for blogs.
- Weebly: It is simple and good for beginners.
- Google Sites: It is basic but easy to use.
Step 2: Sign Up For An Account
After choosing a builder, sign up. You will need an email address. Follow these steps:
- Visit the website of the builder.
- Click on “Sign Up” or “Get Started.”
- Enter your email and create a password.
- Confirm your email if needed.
Step 3: Pick A Template
Most builders have templates. Templates are designs for your website. Choose a template you like. Make sure it suits your purpose. Here’s how to do it:
- Browse through the available templates.
- Click on one that you like.
- Preview it to see how it looks.
- Select “Use this template” to start editing.
Step 4: Customize Your Website
Now it’s time to make your website unique. You can change many things:
- Text: Write about yourself and your work.
- Images: Add pictures that show your projects.
- Colors: Choose colors that match your style.
- Fonts: Pick easy-to-read fonts.
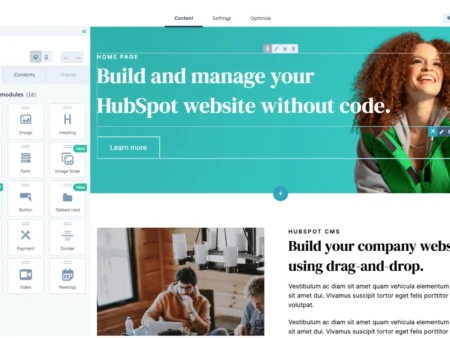
Most builders let you drag and drop elements. This makes it easy to arrange everything.
Step 5: Create Important Pages
Your website needs key pages. These pages help visitors learn more about you. Here are some important pages to include:
- Home Page: This is the main page of your site.
- About Page: Tell people who you are.
- Portfolio or Projects Page: Show your work.
- Contact Page: Let people reach you.
Step 6: Add Blog (optional)
If you want, you can add a blog. A blog is a place to share your thoughts. It can attract more visitors. Here’s how to add a blog:
- Look for the blog option in your builder.
- Select “Add Blog” or a similar option.
- Start writing your first post.
- Publish it when you are ready.
Step 7: Preview Your Website
Before you publish, preview your site. This helps you see how it looks. Click on the “Preview” button. Check for any mistakes. Make sure everything works well.
Step 8: Publish Your Website
Once you are happy, it’s time to publish. Look for the “Publish” button. Click it to make your site live. You will get a free web address. This is what people will use to find you.
Step 9: Share Your Website
Now that your site is live, share it! Tell your friends and family. You can also share it on social media. This helps more people see your work.

Credit: time2hack.com
Tips for Keeping Your Website Updated
Once your website is live, keep it fresh. Here are some tips:
- Update Regularly: Add new projects or blog posts.
- Check Links: Make sure all links work.
- Respond to Messages: Answer emails from visitors.
- Monitor Traffic: Use tools to see how many visitors you have.
Common Mistakes to Avoid
Creating a website is fun. But some mistakes can happen. Here are common mistakes to avoid:
- Too Much Text: Keep your text short and clear.
- Bad Images: Use high-quality images only.
- No Contact Info: Always add a way to contact you.
- Ignoring Mobile Users: Make sure your site works on phones.
Conclusion
Creating a personal website for free is easy. Just follow the steps in this guide. Choose a builder, customize your site, and share it. Your website can help you grow and connect. Start today and enjoy the process!
Frequently Asked Questions (FAQs)
1. Do I Need Technical Skills To Build A Website?
No, most website builders are user-friendly. You can build a site with simple clicks.
2. Can I Change My Website Later?
Yes, you can edit and update your website anytime.
3. Is It Really Free?
Yes, many builders offer free plans. Some may have paid upgrades.
4. How Do I Make My Website Popular?
Share it on social media. Update it regularly with new content.
5. Can I Use My Own Domain Name?
Some builders allow custom domain names for free. Others may require a fee.


