Do you want to sell clothes online? It is easy to create a clothing website. You can do it for free. In this guide, we will show you how. You will learn step by step. Let’s get started!
Step 1: Choose Your Niche
Your niche is your specific market. Think about what kind of clothes you want to sell. Here are some ideas:
- T-shirts
- Hoodies
- Dresses
- Kids’ clothes
- Activewear
Choosing a niche helps you find your target audience. Knowing your audience is important.
Credit: essential-addons.com
Step 2: Pick a Domain Name
Your domain name is your website’s address. It should be simple and easy to remember. Here are some tips:
- Make it short.
- Use keywords related to your clothes.
- Avoid numbers and hyphens.
For example, if you sell T-shirts, you could use “CoolTshirts.com.”

Credit: startups.co.uk
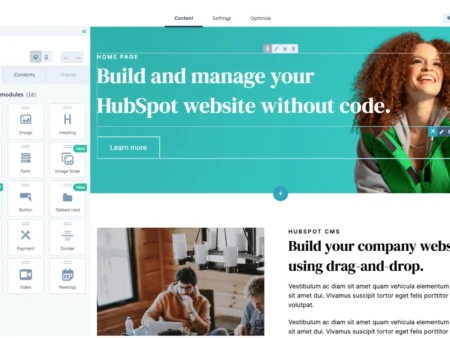
Step 3: Find a Website Builder
You need a website builder to create your site. There are many free options available. Here are some popular ones:
- Wix
- Weebly
- WordPress.com
- Shopify (free trial)
Choose one that fits your needs. Wix is good for beginners. It is easy to use.
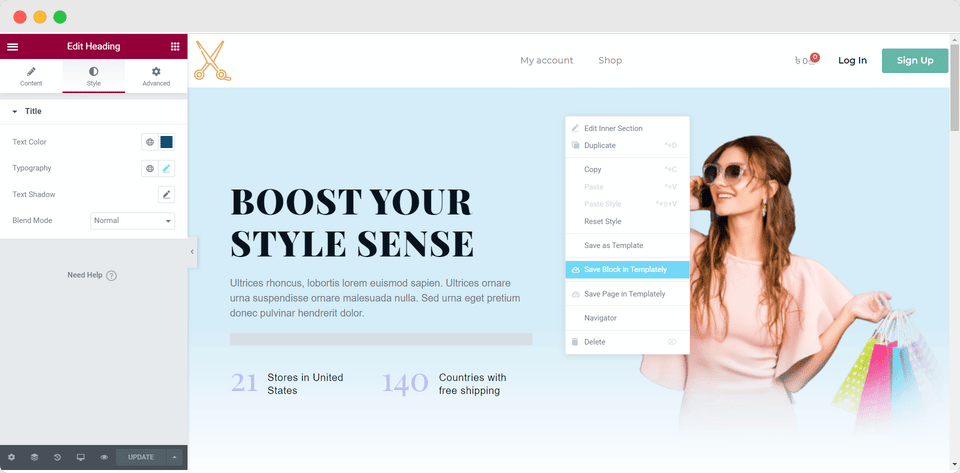
Step 4: Create Your Website
Now it is time to build your website. Follow these steps:
- Sign up for an account on your chosen platform.
- Select a template that fits your style.
- Customize your template with your colors and images.
- Add pages like “Home,” “Shop,” “About,” and “Contact.”
- Include a blog if you want to share tips.
Customizing your website makes it yours. Use your brand colors and images.
Step 5: Add Products
Now, it is time to add your clothes. Here are some tips:
- Take clear photos of your products.
- Write clear and simple descriptions.
- Include prices and sizes.
Good photos help sell your clothes. Make sure they look nice.
Step 6: Set Up Payment Options
To sell clothes, you need payment options. Here are some common ones:
- PayPal
- Stripe
- Square
Choose the one that works best for you. Make sure it is easy for customers.
Step 7: Launch Your Website
You are ready to launch your website! Before you do, check these:
- Test all links to make sure they work.
- Make sure your payment options are set up.
- Check for spelling and grammar errors.
Once everything looks good, hit the launch button!
Step 8: Promote Your Website
Now you need to tell people about your website. Here are some ways to promote it:
- Use social media like Facebook and Instagram.
- Ask friends and family to share.
- Join online groups related to clothing.
Promoting your website helps attract customers. The more people know, the better.
Step 9: Keep Improving
Your website is live, but it needs updates. Keep adding new products. Listen to customer feedback. Here are some tips:
- Check your website’s performance regularly.
- Update your blog with new content.
- Run sales or promotions to attract more customers.
Improving your website keeps it fresh and interesting.
Helpful Tips for Success
Here are some more tips to help you:
- Be patient. Success takes time.
- Stay focused on your goals.
- Learn from others in your niche.
- Keep an eye on your competition.
- Always provide good customer service.
These tips can help you succeed. Remember, hard work pays off.
Conclusion
Creating a clothing website for free is simple. Follow these steps and you will succeed. Start with a niche. Choose a domain name. Pick a website builder. Create your site, add products, and promote it. Keep learning and improving. You can do this!
Now, go ahead and start your clothing website. The world is waiting for your style.